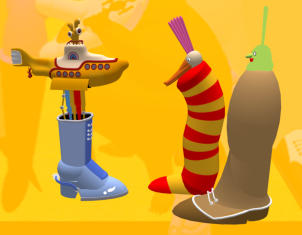
This section of the site gives you the chance to see some of the characters and objects as ‘all
around’ 360 degree views. Click on a thumbnail image and it will appear in the centre of its own
window. The movement controls at the bottom of the screen are quite self explanatory.
To start off, just pass your cursor over the image whilst holding down the mouse button and
move it left and right. You can also click the directional arrows to see each step or click on
the arrow on the right side to start an automatic movement. Some images allow you to zoom
in and see the finer detail but you can’t freely spin in this mode. Although the zoom button (+)
is present on most images, sometimes clicking on it will have no effect as the image is already
at maximum size. There’s no need to download special viewer software as it’s already built in
and powered by ‘web rotate 360’. Click the ‘back’ button of your browser to return here.
Every 360 animation has 32 frames apart from the ‘Console’ which is doubled up to 64. It just
makes for a much smoother rotation.


I got into VR Object Rotation a long time ago now and thought I'd look into the possibility of
producing some for this new Yellow Submarine 3D website. In the past, I'd made some VR
movies by taking pictures of models on a calibrated turntable but the visitor to the site had to
have or be ready to download and install Apple's Quicktime viewer. A bit of a hassle, to say the
least. Now I've found something so simple that not only allows me to produce and stitch together
a sequence of images but also once uploaded to the website, the visitor doesn't need to do a
thing. The idea of producing VR movies of the Pepperland characters came to me a while ago but
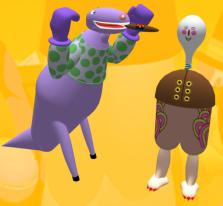
with some 36 in total to do, made me think that I might cut it down to around a dozen. It's such
a lot of work but well worth the time spent as it lets you rotate the object around a full 360
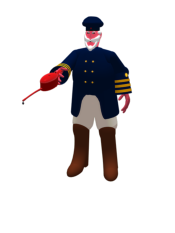
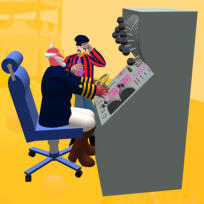
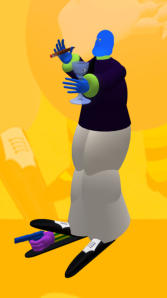
movement. The first step, was to make an inworld green screen, easier for cutting out each
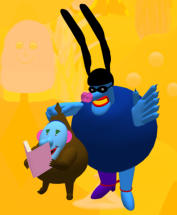
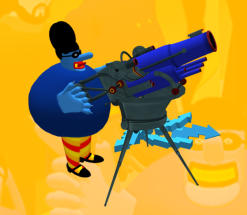
character, and place your figure, I used Cpt Fred for the first one and placed him on the green
base as can be seen in the first picture. I opted to include the user interface on the first couple of
shots and on the second picture, you can see the rotate tool which lets me snap to each segment.
With the camera locked off it was easy to produce the necessary 32 images, only because the
movement is far smoother. Next, and this is where it takes time, is to cut Fred out from the
green, paste him back and then remove the entire background so each additional layer is sitting
on a transparent background. These are then saved one at a time. You can see all the layers on
image 5 and the reason I showed all of the layers was so I could be sure to crop the entire
sequence and not cut off any part on the left and right sides. The last picture shows how the
animation will look in the software. It was compiled in 'Spot Editor' a nifty piece of software I
mentioned above from ‘web rotate 360’.
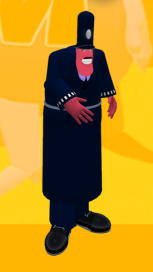
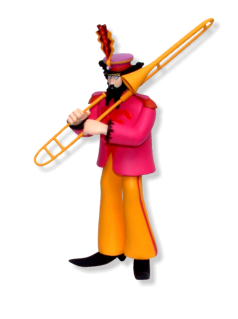
Below is another type of 360 rotation, this time a real world project made around the year
2000…..a model of John in Sgt Pepper Band Costume and made by McFarlane, was placed on a
calibrated turntable and, with a camera locked off, sixteen photos were taken. It still looks quite
smooth even though I now prefer to take a minimum of 32 photos.